RGB LED Photoflood
Links to code and video at the bottom of this article
So, I was looking at the price of photo floods for photography and video production and baulking at the prices. I had previously used a battery powered one with 160 LEDs that cost around 20 GBP which was ok for basic photography lighting fill-in, that is to supplement room lighting. But for video you really need something more powerful. So my criteria was
Must be mains powered
Must be RGB programmable for effects
Optional - can display scrolling messages
Must stand prolonged usage
Cheap enough to make several to provide multiple light sources, possible with differing tints.
Easy to construct and copy.
Common sense and available components said it should be Arduino based because
I have a drawer full (or did)
There are many variants as cheap as 3 GBP + postage and packing in multiple pack purchase
They are easy to program and have simple power needs, i.e. 5 volts the same as WS2812 LEDs
I have seen WS2812 256 LED programmable matrixes sold for as much as 70 GBP which makes me baulk! But a bit of research and some special offers on Ebay (other sources are available) had myself and my partner ordering one each on top of the one I already had sourced and tested some simple programs on. Now these are generally designed to have patterns, words and graphics displayed on them and I did buy a 8 GBP controller which can operate form a mobile phone and made some pretty patterns on one. I had heard a few people say that you should not run these 100% on all LEDs and it is also mentioned that the LEDs can become de-flowed, that is desoldered. Well you have been warned and the hobbyist is likely to be capable or soldering a few joints in the even of a problem. I think this will put out 5 Volts x 7 Amps = 35 Watts. Probably equivalent to 150 watts of incandescent lighting but with RGB control!
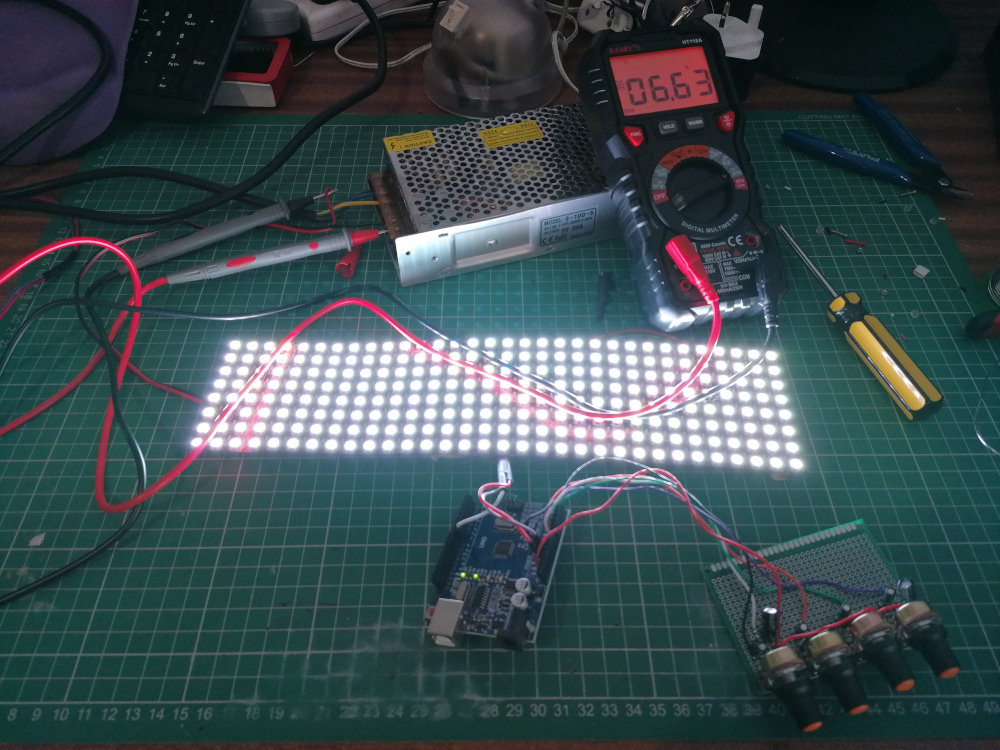
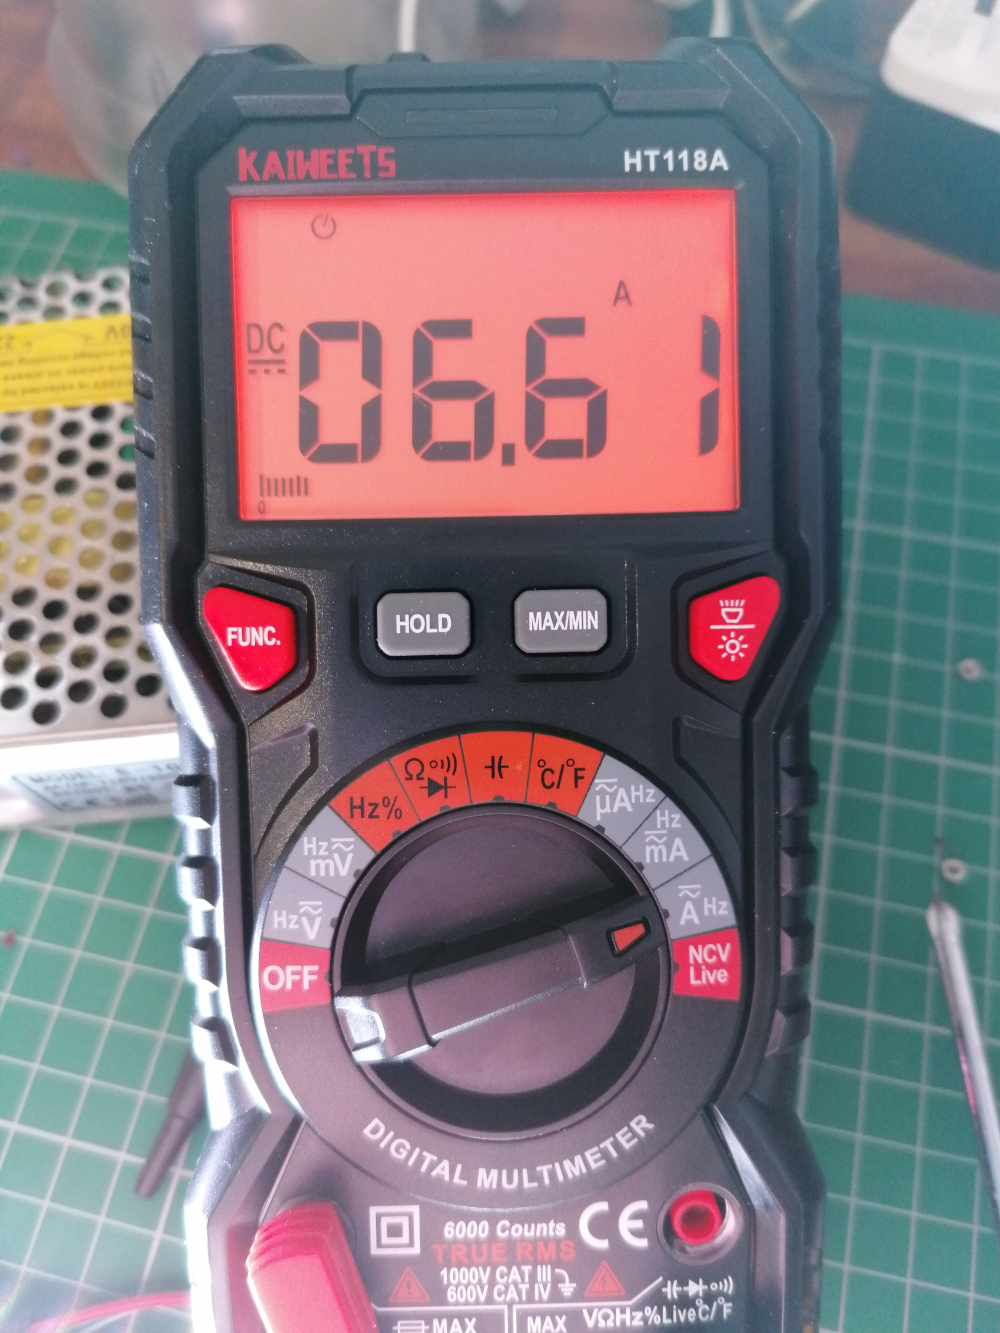
As for cooling I will be installing a PC cooling fan in each box. I reckon they consume 6.7 amps when fully on. You will need substantial wire from the 5V power supply to the LEDs as I managed to almost melt mine when trying to drive 3 LED matrixes at once!

 |
| The completed circuit board |
|
| The underside view I used the component's legs to make the bridges between the dots, this helps to avoid using large blobs of solder which can short circuit between tracks.  |

Parts List (Amazon links are associate links for which I earn a small commission, you pay no extra at all)
R1-4 100K linear potentiometer https://amzn.to/34udyM9
R5-9 10k 1/4 carbon resistor https://amzn.to/3p7vLXU
IC1 Arduino Nano or Every https://store.arduino.cc/arduino-nano-every
1 x PCB or prototype board https://amzn.to/2WwvGAL
PB1 momentary contact push button https://amzn.to/2KlTGUO
USB lead to program Arduino
Assorted cable
Code on GitHub https://github.com/TekMaker/arduino_projects, just click download as zip or clone if you have Git.
YouTube video and instructions to modify code https://www.youtube.com/watch?v=_oBho88mrvk&list=PLD8LpUarTkkYW0hYQ8hFyVJ1XqDnbblBH
This blog gives really useful insights about electronics! I appreciate the detailed comparisons—it helps a lot when deciding which device offers the best value for money.Read more info about Ecobee Smart Camera
ReplyDelete